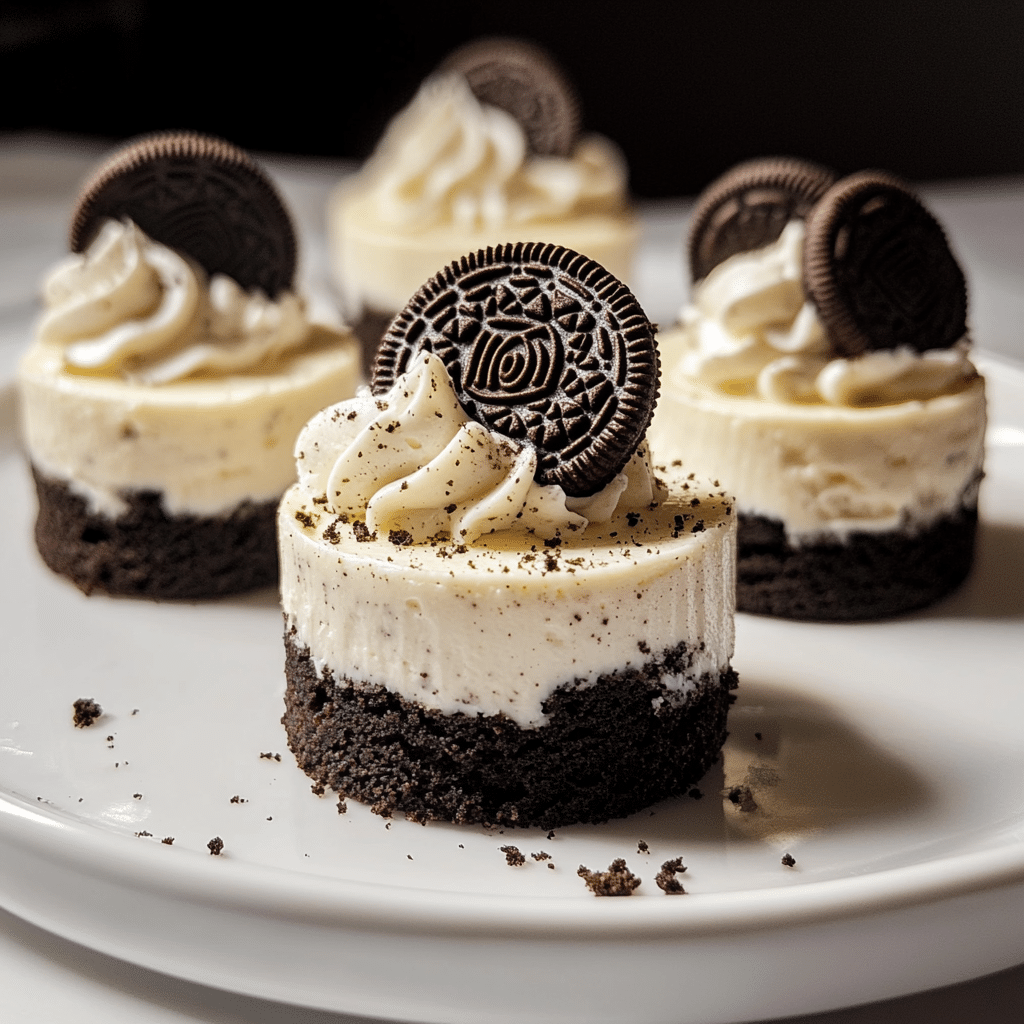
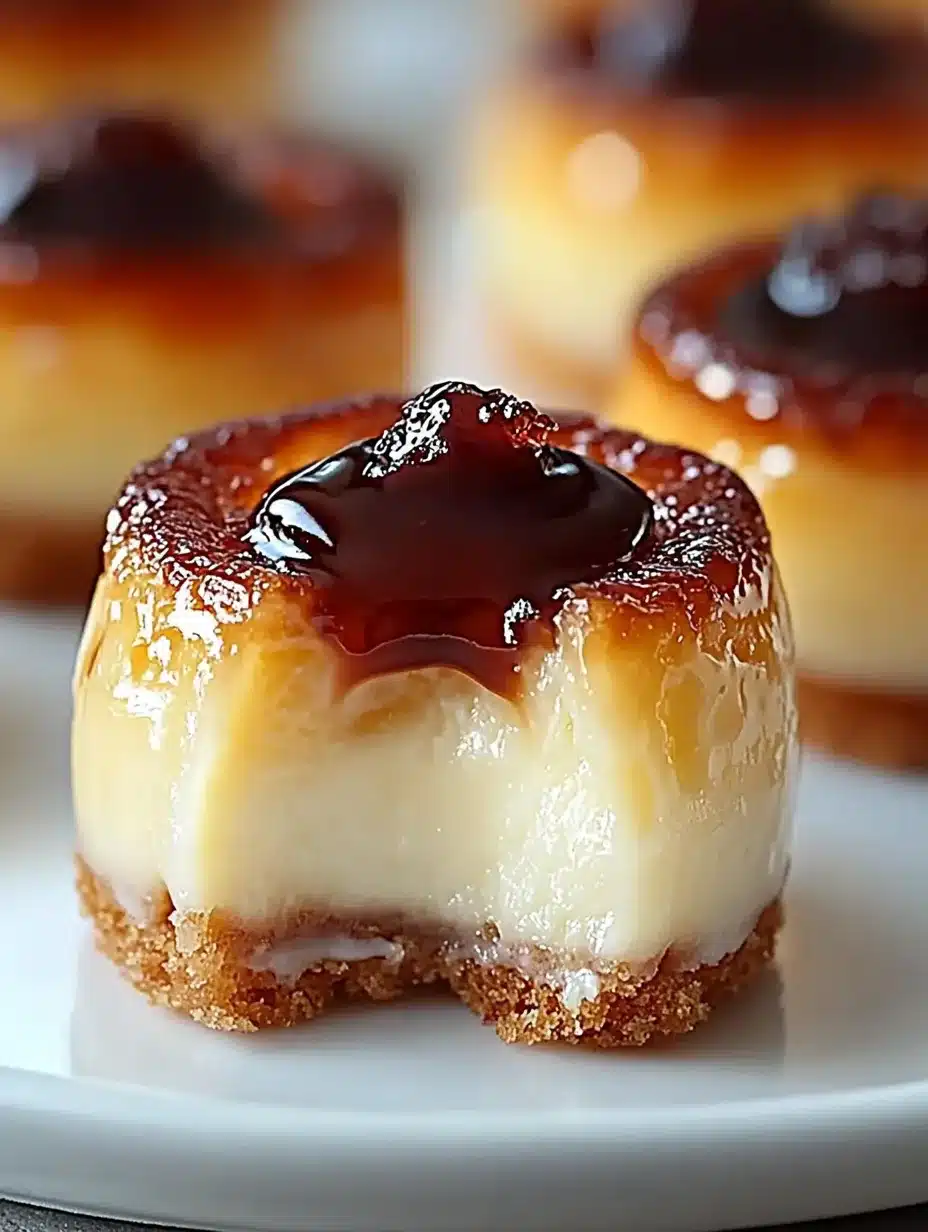
Mini cheesecakes are a delightful twist on the classic dessert that everyone loves. They capture the rich and creamy essence of traditional cheesecake but present it in a charming, individual-sized portion. This makes them not only adorable but also incredibly versatile, fitting seamlessly into any occasion—from birthday parties to casual weeknight dinners.
Imagine taking a bite of a mini cheesecake that melts in your mouth, combining the perfect balance of sweetness with a hint of tanginess from the cream cheese. These little delights are sure to impress your guests and leave them longing for seconds. In this article, you will discover why making mini cheesecakes is worthwhile, along with a detailed recipe that guides you through the process step by step. Whether you’re an experienced baker or a novice looking to try something new, these mini marvels are sure to become a staple in your dessert repertoire.
If you’ve ever been daunted by the thought of making a full-sized cheesecake, mini cheesecakes are the answer to your culinary prayers. They are easier to prepare, require less time to bake, and not to mention, they allow for a variety of fun toppings like fruits, chocolate, or caramel. Each mini cheesecake can be customized to suit your guests’ tastes, making them an incredible choice for gatherings or special events.
Delve into this guide to learn why you’ll love this recipe, the required preparations, and follow the step-by-step instructions for creating these delightful treats. Get ready to impress with your homemade mini cheesecakes that are not only delicious but also beautiful to present!
Why You’ll Love This Recipe
Mini cheesecakes truly are a dream come true for dessert lovers, and there are several reasons why you’ll instantly fall in love with this recipe:
1. Individual Servings: Everyone enjoys their dessert, but no one wants to share! Mini cheesecakes allow each person to have their own serving.
2. Easy to Make: Even if you’re short on baking experience, this recipe provides straightforward steps to achieve tasty results.
3. Flavor Versatility: You can easily customize the flavors by incorporating different toppings and add-ins, like fruits, nuts, or chocolate.
4. Perfect for Any Occasion: Birthdays, potlucks, or simply as a sweet treat at home, mini cheesecakes fit perfectly in any social gathering.
5. Make-Ahead Option: They can be prepared in advance and refrigerated, making them a great option for busy hosts.
6. Impressive Presentation: With a little creativity in presentation, these mini desserts can turn a simple gathering into a fabulous feast.
With these points in mind, it’s easy to see why mini cheesecakes have become a fan favorite among many dessert enthusiasts. Each creamy bite delivers joy and satisfaction!
Preparation and Cooking Time
Creating mini cheesecakes takes a bit of time, but the enjoyment they bring is worth every minute. Here’s a breakdown of how long it will take to prepare and bake these delightful treats:
– Preparation Time: 15 minutes
– Baking Time: 20 minutes
– Cooling Time: 2 hours (minimum for best texture)
– Total Time: Approximately 2 hours and 35 minutes
Keep in mind that the baking time may vary slightly depending on your oven. It’s best to keep an eye on them to ensure perfect results.
Ingredients
Here is a straightforward list of ingredients you will need to create your mini cheesecakes:
– 1 ½ cups graham cracker crumbs
– ½ cup unsalted butter, melted
– 2 tablespoons granulated sugar
– 16 oz cream cheese, softened
– 1 cup granulated sugar
– 3 large eggs
– 1 teaspoon vanilla extract
– 1 tablespoon lemon juice
– Optional toppings: berries, chocolate sauce, caramel, or whipped cream
Step-by-Step Instructions
Creating your mini cheesecakes can be simple if you follow these easy steps:
1. Preheat the Oven: Start by preheating your oven to 325°F (160°C).
2. Prepare the Muffin Pan: Line a muffin tin with cupcake liners to hold your mini cheesecakes.
3. Make the Crust: In a mixing bowl, combine the graham cracker crumbs, melted butter, and 2 tablespoons of sugar. Mix until well combined.
4. Fill the Muffin Tin: Distribute the crust mixture evenly among the muffin cups, pressing down firmly to create a solid base.
5. Bake the Crust: Place the muffin pan in the preheated oven and bake for about 5-7 minutes until lightly golden. Remove it from the oven and set aside to cool.
6. Mix the Filling: In a large mixing bowl, beat the softened cream cheese until smooth. Gradually add 1 cup of sugar, continuing to blend until creamy.
7. Add Eggs and Flavor: Add the eggs one at a time, mixing on low speed after each addition. Next, blend in the vanilla extract and lemon juice until fully incorporated.
8. Pour Filling: Carefully pour the cream cheese mixture over the prepared crusts in the muffin tin, filling each cup about ¾ full.
9. Bake the Cheesecakes: Return the muffin pan to the oven and bake for 15-20 minutes. The centers should be set, and the edges lightly golden.
10. Cool and Chill: Once done, remove from the oven and allow to cool in the pan for about 10 minutes. Then transfer them to the refrigerator to chill for at least two hours before serving.
How to Serve
When it comes to serving your mini cheesecakes, presentation can elevate the entire experience. Here are some ideas to consider:
1. Garnish: Top your mini cheesecakes with fresh berries, a drizzle of chocolate sauce, or a dollop of whipped cream for a burst of color and flavor.
2. Serving Platters: Arrange them on a beautiful serving platter for visual appeal. Use decorative liners or even a stand to make them more eye-catching.
3. Portion Control: Since they are already individual-sized, serve them as they are. But you can cut them in half for smaller bites.
4. Pairing Options: Serve alongside coffee or tea to create a cozy dessert experience. These cheesecakes can also be enjoyed with cocktails for a festive event.
5. Flavor Combinations: Encourage guests to mix and match toppings for a fun tasting experience. Provide a selection of sauces and fruits to pair with each cheesecake.
By paying attention to the way you serve these mini cheesecakes, you can enhance the impact they have on your guests, making the dessert not only delicious but memorable!
Additional Tips
– Use Room Temperature Ingredients: Ensure that your cream cheese and eggs are at room temperature before mixing. This creates a smoother filling without lumps.
– Be Gentle with the Filling: When adding eggs to the cheese mixture, mix gently. Over-mixing can incorporate too much air and cause cracks.
– Prevent Cracking: To avoid cracks on your cheesecakes, bake them in a water bath. Place your muffin pan in a larger pan filled with hot water before baking.
– Experiment with Flavors: Consider adding flavors like almond extract or orange zest to the batter for a unique twist.
– Use an Electric Mixer: For the smoothest texture, use an electric mixer to blend the filling. A handheld mixer works well, but a stand mixer can really help achieve that creamy consistency.
Recipe Variation
There are endless possibilities when it comes to customizing your mini cheesecakes. Here are some variations to inspire you:
1. Chocolate Mini Cheesecakes: Incorporate melted chocolate into the cream cheese mixture for a rich chocolate flavor.
2. Fruit-Filled Mini Cheesecakes: Add a layer of fruit compote or puree beneath the cream cheese filling for a fruity delight.
3. Pumpkin Spice Mini Cheesecakes: Add pumpkin puree and spices like cinnamon and nutmeg for a seasonal twist.
4. Peanut Butter Swirl: Combine some creamy peanut butter into the batter or swirl it on top before baking for a nutty flavor.
5. Caramel Mini Cheesecakes: Drizzle caramel sauce over the top before serving, or stir it into the filling for a decadent dessert.
Freezing and Storage
– Storage: Store mini cheesecakes in an airtight container in the refrigerator. They can last for about 4-5 days if properly stored.
– Freezing: For longer storage, freeze these cheesecakes! Wrap them individually in plastic wrap and then place them in a freezer-safe container. They can be frozen for up to 3 months. Thaw them in the fridge before serving.
Special Equipment
To make the process of creating mini cheesecakes easier, here are a few essential tools:
– Muffin Tin: A standard 12-cup muffin tin works perfectly for mini cheesecakes.
– Cupcake Liners: These help prevent sticking and make it easy to remove the cheesecakes once cooled.
– Mixing Bowls: A variety of mixing bowls will help in preparing the crust and filling.
– Electric Mixer: An electric mixer, either handheld or stand, is ideal for achieving a smooth filling.
– Spatula: A spatula is useful for scraping down the sides of the bowl and for transferring the filling.
Frequently Asked Questions
Can I use low-fat cream cheese?
Yes, low-fat cream cheese can be used, though it may slightly alter the texture and taste.
How can I tell if the mini cheesecakes are done?
The edges should be slightly puffed, and the center should still have a slight jiggle. It will firm up as it cools.
Can I make these mini cheesecakes gluten-free?
Absolutely! Substitute graham cracker crumbs with gluten-free options like almond flour or gluten-free cookies.
What toppings are best for mini cheesecakes?
Fresh fruit, chocolate, caramel, and whipped cream are all fantastic toppings. Feel free to mix and match!
How do I remove the mini cheesecakes from the muffin tin?
Allow them to cool completely in the pan. Then, gently peel back the liners or use a small offset spatula to help lift them out.
Conclusion
Mini cheesecakes are a fantastic dessert that brings joy to any event. Their individual servings, ease of preparation, and customizability make them a must-try for both novice and experienced bakers. Whether you’re in the mood for a classic cheesecake or want to explore new flavors, these delightful treats are bound to impress everyone, from family to friends. Get ready to create mini cheesecakes that will be the star of your dessert table!

Mini Cheesecakes: An Amazing Ultimate Recipe for Every Occasion
- Total Time: 35 minutes
Ingredients
Here is a straightforward list of ingredients you will need to create your mini cheesecakes:
– 1 ½ cups graham cracker crumbs
– ½ cup unsalted butter, melted
– 2 tablespoons granulated sugar
– 16 oz cream cheese, softened
– 1 cup granulated sugar
– 3 large eggs
– 1 teaspoon vanilla extract
– 1 tablespoon lemon juice
– Optional toppings: berries, chocolate sauce, caramel, or whipped cream
Instructions
Creating your mini cheesecakes can be simple if you follow these easy steps:
1. Preheat the Oven: Start by preheating your oven to 325°F (160°C).
2. Prepare the Muffin Pan: Line a muffin tin with cupcake liners to hold your mini cheesecakes.
3. Make the Crust: In a mixing bowl, combine the graham cracker crumbs, melted butter, and 2 tablespoons of sugar. Mix until well combined.
4. Fill the Muffin Tin: Distribute the crust mixture evenly among the muffin cups, pressing down firmly to create a solid base.
5. Bake the Crust: Place the muffin pan in the preheated oven and bake for about 5-7 minutes until lightly golden. Remove it from the oven and set aside to cool.
6. Mix the Filling: In a large mixing bowl, beat the softened cream cheese until smooth. Gradually add 1 cup of sugar, continuing to blend until creamy.
7. Add Eggs and Flavor: Add the eggs one at a time, mixing on low speed after each addition. Next, blend in the vanilla extract and lemon juice until fully incorporated.
8. Pour Filling: Carefully pour the cream cheese mixture over the prepared crusts in the muffin tin, filling each cup about ¾ full.
9. Bake the Cheesecakes: Return the muffin pan to the oven and bake for 15-20 minutes. The centers should be set, and the edges lightly golden.
10. Cool and Chill: Once done, remove from the oven and allow to cool in the pan for about 10 minutes. Then transfer them to the refrigerator to chill for at least two hours before serving.
- Prep Time: 15 minutes
- Cook Time: 20 minutes
Nutrition
- Serving Size: 12 mini cheesecakes
- Calories: 245 kcal
- Fat: 16g
- Protein: 4g