
Classic Mini Tarts are delightful bites that bring joy to any gathering. These charming treats are not only visually appealing but also packed with flavor. Their versatile nature allows for a variety of fillings that can cater to all taste buds, making them perfect for any occasion—whether it’s a family get-together, holiday celebration, or simply an indulgent treat for yourself. The experience of enjoying a Classic Mini Tart is simply divine, as they can be sweet or savory, catering to every palate.
Picture this: a buttery tart shell cradling a luscious filling that melts in your mouth, leaving you longing for more. Each bite is a blend of delightful textures and flavors, making Classic Mini Tarts an irresistible choice. Baking these tarts not only fills your home with a wonderful aroma but also creates a sense of warmth and nostalgia. In this guide, we will explore why you’ll love this recipe, how to make these mini delights, and tips for serving them beautifully. Dive into the world of Classic Mini Tarts, and elevate your dessert game today!
Why You’ll Love This Recipe
There are countless reasons why Classic Mini Tarts stand out in the world of desserts. Here are some highlights that will convince you to whip up a batch:
1. Endless Filling Options: From fruity curds to rich chocolates and creamy custards, the possibilities are endless.
2. Perfect Party Pleasers: Their bite-sized nature makes them ideal for sharing, ensuring everyone gets to indulge.
3. Simple Techniques: The steps are straightforward, making it an enjoyable and stress-free baking experience.
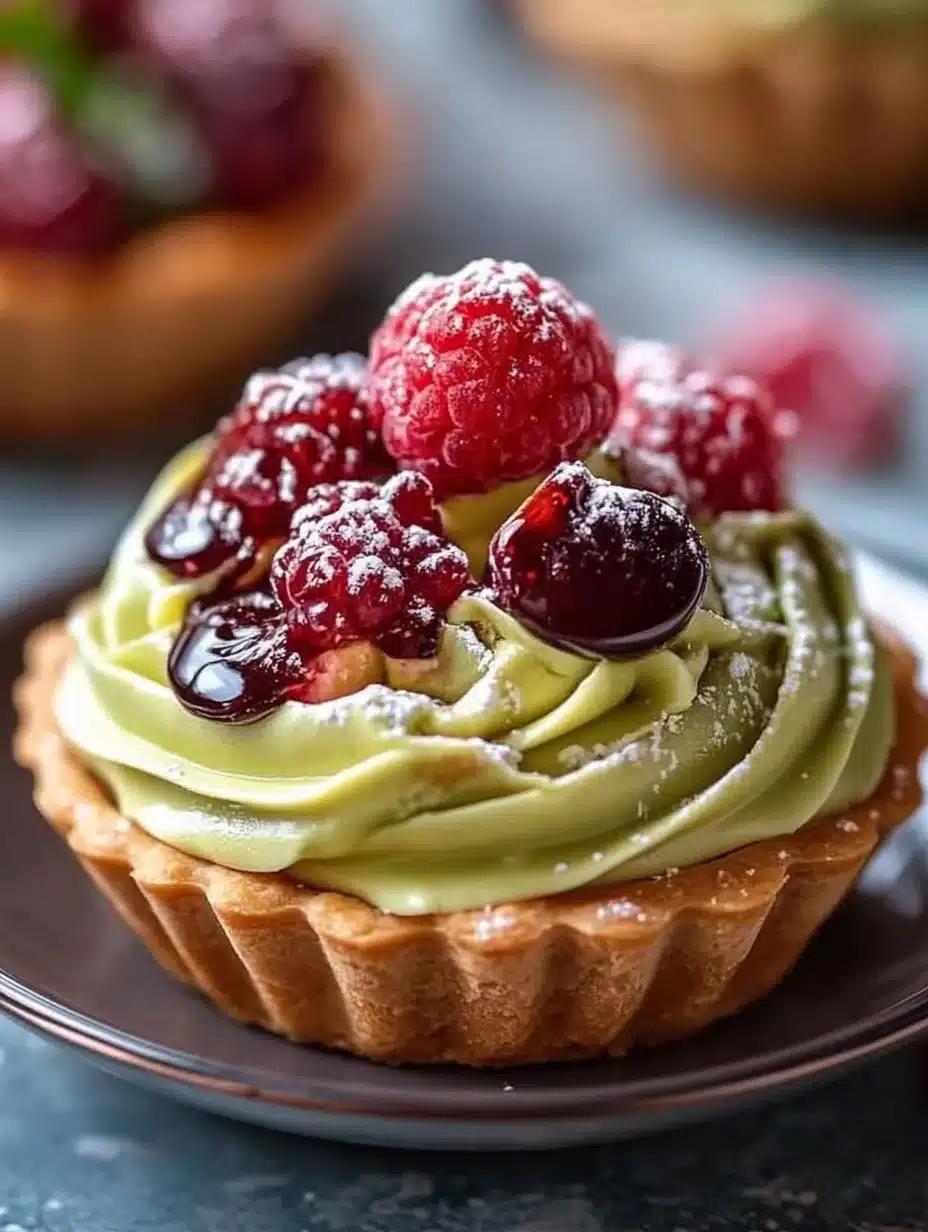
4. Visually Stunning: Decoratively presenting these tarts can wow your guests and create a memorable impression.
5. Customizable: You can tailor the flavors and toppings to suit any dietary restrictions or flavor preferences.
6. Easily Made Ahead: The shells can be prepped in advance, making last-minute gatherings a breeze.
Overall, the engaging cooking process combined with the delightful outcome ensures that once you make these Classic Mini Tarts, they are sure to become a regular feature in your kitchen!
Preparation and Cooking Time
The total time required to create Classic Mini Tarts is around 1 hour and 30 minutes, including preparation and baking. Here’s how the time breaks down:
– Preparation Time: 40 minutes
– Cooking Time: 15-20 minutes
– Cooling Time: 30 minutes
This timeline should serve as a useful guide as you embark on this delicious baking adventure.
Ingredients
– 1 ½ cups all-purpose flour
– ½ cup unsalted butter, chilled and diced
– ¼ cup granulated sugar
– 1 large egg yolk
– 1 tablespoon cold water
– Filling of your choice (e.g., lemon curd, chocolate ganache, or pastry cream)
– Fresh fruits for topping (optional)
– Whipped cream for serving (optional)
Step-by-Step Instructions
Making Classic Mini Tarts involves several straightforward steps. Follow this guide to ensure your success:
1. Prepare the Tart Shells: In a mixing bowl, combine flour and sugar. Cut in the butter using a pastry blender until the mixture resembles coarse crumbs.
2. Add Egg Yolks: Stir in the egg yolk and add cold water a tablespoon at a time until the dough comes together.
3. Chill the Dough: Wrap the dough in plastic wrap, and refrigerate for at least 30 minutes. This step helps maintain the shape during baking.
4. Preheat the Oven: While the dough chills, preheat your oven to 375°F (190°C).
5. Roll Out the Dough: On a floured surface, roll out the chilled dough to about 1/8-inch thickness.
6. Cut and Shape the Shells: Use a floured round cutter to cut out circles of dough. Place them into greased mini tart pans, gently pressing them into shape.
7. Pre-bake the Shells: Use a fork to poke some holes in the bottoms and bake the tarts for 15-20 minutes or until the edges are golden brown. Remove from the oven and allow to cool.
8. Fill the Tarts: Once cooled, fill each shell with your desired filling.
9. Decorate: Top with fresh fruits or whipped cream for an extra burst of flavor.
10. Serve: Allow the tarts to set for about 10 minutes before serving to enhance the flavors.
These step-by-step instructions will guide you through crafting these wonderful tarts with ease!
How to Serve
To create an unforgettable serving experience for your Classic Mini Tarts, keep these tips in mind:
1. Presentation: Arrange the tarts on a beautiful platter for an eye-catching display. Incorporating greenery or edible flowers can further enhance their appeal.
2. Flavor Pairings: Consider serving with complementary sides, such as a drizzle of chocolate sauce or a side of ice cream, to elevate the overall experience.
3. Slice Size: Since these tarts are already mini-sized, avoid the temptation to cut them smaller. Their delightful richness is ideal in their current form.
4. Beverage Pairing: Serve alongside freshly brewed coffee, tea, or even dessert wine to complement the flavors of the tarts.
5. Garnishing: An extra sprinkle of powdered sugar or zest can add a final touch that makes these tarts irresistibly attractive.
By implementing these serving suggestions, you’ll ensure that your guests enjoy every delicious bite of your Classic Mini Tarts. They’re not just desserts; they offer an experience that combines visual delight with indulgent flavor!
Additional Tips
– Use Chilled Ingredients: For the best texture, ensure your butter is chilled and your filling ingredients are at room temperature before mixing.
– Experiment with Spices: Add a pinch of nutmeg or cinnamon to your tart shell for a unique flavor twist.
– Garnish with Fresh Herbs: Fresh mint or basil can beautifully complement the sweetness of your tarts, adding depth to the presentation and flavor.
Recipe Variation
Feel free to get creative with your Classic Mini Tarts! Here are some variations to try:
1. Savory Mini Tarts: Replace sweet fillings with savory options like quiche filling or cheese and spinach blend.
2. Different Crust: Use crushed graham crackers or almond flour for a gluten-free alternative to the traditional tart shell.
3. Seasonal Fruits: Top your tarts with seasonal fruits like peaches in summer or pears in winter for a delightful change.
Freezing and Storage
– Storage: Keep the tarts in an airtight container in the fridge. They will stay fresh for about 3-4 days.
– Freezing: You can freeze the baked tart shells for up to a month. Just ensure they are completely cooled and well-wrapped. Fill them after thawing to maintain freshness.
Special Equipment
To create your Classic Mini Tarts, you’ll need a few key items:
– Mini tart pans
– Rolling pin
– Pastry blender or food processor
– Mixing bowls
– Fork for poking holes in the shells
Frequently Asked Questions
Can I use a different flour?
Yes, alternative flours like whole wheat or gluten-free blends can work. The texture may vary slightly.
What if my tart shells puff up during baking?
Poking holes in the bottom of the shells will help prevent puffing by allowing steam to escape.
How do I know when the filling is set?
Check for a jiggle in the center. If it’s slightly wobbly but not liquid, it’s ready.
Can I make the shells ahead of time?
Absolutely! Store the pre-baked shells in an airtight container until you’re ready to fill them.
What is the best way to serve these tarts?
Serve them chilled or at room temperature for optimal flavor and texture.
Conclusion
Classic Mini Tarts are a versatile and scrumptious treat that can elevate any event or day of indulgence. With an array of filling possibilities and stunning presentation options, these tarts are sure to impress. By perfecting the art of tart making, you not only create delightful bites of flavor but also beautiful memories to share with loved ones. So grab your ingredients and embark on this delicious journey today!

Classic Mini Tarts: The Incredible Ultimate Recipe for Amazing Flavor
- Total Time: 0 hours
Ingredients
– 1 ½ cups all-purpose flour
– ½ cup unsalted butter, chilled and diced
– ¼ cup granulated sugar
– 1 large egg yolk
– 1 tablespoon cold water
– Filling of your choice (e.g., lemon curd, chocolate ganache, or pastry cream)
– Fresh fruits for topping (optional)
– Whipped cream for serving (optional)
Instructions
Making Classic Mini Tarts involves several straightforward steps. Follow this guide to ensure your success:
1. Prepare the Tart Shells: In a mixing bowl, combine flour and sugar. Cut in the butter using a pastry blender until the mixture resembles coarse crumbs.
2. Add Egg Yolks: Stir in the egg yolk and add cold water a tablespoon at a time until the dough comes together.
3. Chill the Dough: Wrap the dough in plastic wrap, and refrigerate for at least 30 minutes. This step helps maintain the shape during baking.
4. Preheat the Oven: While the dough chills, preheat your oven to 375°F (190°C).
5. Roll Out the Dough: On a floured surface, roll out the chilled dough to about 1/8-inch thickness.
6. Cut and Shape the Shells: Use a floured round cutter to cut out circles of dough. Place them into greased mini tart pans, gently pressing them into shape.
7. Pre-bake the Shells: Use a fork to poke some holes in the bottoms and bake the tarts for 15-20 minutes or until the edges are golden brown. Remove from the oven and allow to cool.
8. Fill the Tarts: Once cooled, fill each shell with your desired filling.
9. Decorate: Top with fresh fruits or whipped cream for an extra burst of flavor.
10. Serve: Allow the tarts to set for about 10 minutes before serving to enhance the flavors.
These step-by-step instructions will guide you through crafting these wonderful tarts with ease!
- Prep Time: 15 minutes
- Cook Time: 15-20 minutes
Nutrition
- Serving Size: 12 mini tarts
- Calories: 210 kcal
- Fat: 12g
- Protein: 2g


