
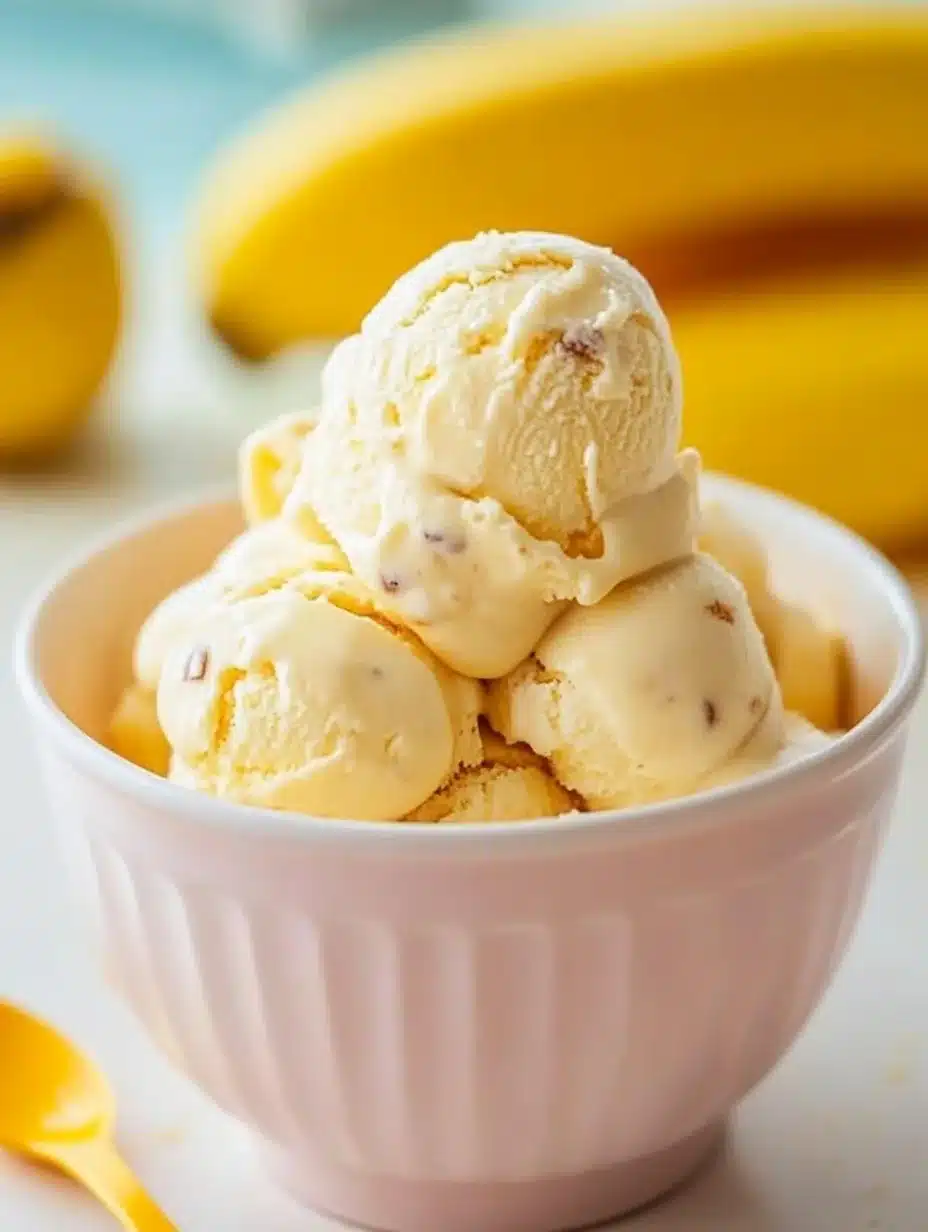
Banana Pudding Ice Cream Recipe is a wonderful way to enjoy the delicious flavors of classic banana pudding in a creamy, frozen dessert. If you’re a fan of ice cream or banana pudding, this recipe melds the two favorites into one spectacular treat. Imagine a bowl of creamy vanilla-infused ice cream, layered with bits of soft bananas and crunchy vanilla wafers. It’s a dessert that not only cools you down on a hot day but also gives you a comforting taste of nostalgia. Whether you’re hosting a summer barbecue or simply satisfying a sweet tooth, this ice cream is bound to be a hit!
Many people love the delightful combination of flavors in banana pudding. The creamy texture complemented by ripe bananas and the crunch of vanilla wafers is truly irresistible. With this recipe, you can bring that joy into your kitchen and treat your friends and family to something special. Plus, it’s super easy to make, allowing even novice chefs to whip up a batch of pure bliss. So, get your ice cream maker ready, and let’s explore this amazing recipe!
Why You’ll Love This Recipe
This Banana Pudding Ice Cream Recipe offers a delightful twist on the traditional favorite, providing a multitude of reasons to fall in love with it. Here are some reasons why you should make this incredible dessert:
1. Unique Flavor Profile – Combining the classic flavors of banana pudding into ice cream creates a refreshing yet nostalgic treat.
2. Simple Ingredients – The ingredients are easy to find and often already in your pantry or fridge.
3. Perfect for Anytime – This dessert is ideal for summer parties, family gatherings, or cozy nights at home.
4. Kid-Friendly – Children are sure to love the fun textures and flavors, making it a fantastic dessert for all ages.
5. Customizable – You can easily adapt this recipe to include your favorite add-ins, such as chocolate chips or caramel swirls.
6. No Cooking Required – Most of the preparation is straightforward, with no extensive cooking required, which makes it a breeze to make.
With these appealing factors, it’s easy to see why Banana Pudding Ice Cream is a must-try dessert. Each scoop opens up a world of flavor, providing the comfort of beloved banana pudding in a refreshing form!
Preparation and Cooking Time
Creating this delicious Banana Pudding Ice Cream will require some preparation and freezing time. Here’s a breakdown of the time needed to whip up this delightful treat:
– Preparation Time: 15 minutes
– Chilling Time: 2 hours
– Freezing Time: 4-6 hours (or overnight for best results)
Overall, you should plan for about 30-45 minutes of active preparation, with additional chilling and freezing time to ensure your ice cream is perfectly set.
Ingredients
– 2 ripe bananas
– 2 cups heavy cream
– 1 cup whole milk
– 1 cup granulated sugar
– 1 teaspoon vanilla extract
– 1 tablespoon lemon juice
– 1 cup crushed vanilla wafers (plus extra for topping)
– Optional: whipped cream for serving
Step-by-Step Instructions
Making Banana Pudding Ice Cream at home is simple and fun! Follow these steps for a delightful treat:
1. Prepare the Bananas: Peel the ripe bananas and place them in a mixing bowl. Use a fork to mash them until smooth.
2. Combine the Base: In a separate bowl, whisk together the heavy cream, whole milk, sugar, and vanilla extract until the sugar is completely dissolved.
3. Add Lemon Juice: Stir in the lemon juice to the creamy mixture; this helps prevent the bananas from browning.
4. Mix in Bananas: Incorporate the mashed bananas into the creamy mixture, stirring well until fully combined.
5. Crush the Wafers: Lightly crush the vanilla wafers. You can use a rolling pin or simply break them into small pieces with your hands.
6. Combine Wafer Pieces: Gently fold the crushed vanilla wafers into the banana mixture, ensuring they’re evenly distributed.
7. Chill Mixture: Cover the bowl with plastic wrap and refrigerate the mixture for at least 2 hours. This helps to blend the flavors.
8. Churn the Ice Cream: After chilling, pour the mixture into your ice cream maker and churn according to the manufacturer’s instructions until it reaches a soft-serve consistency.
9. Transfer to Freezer Container: Spoon the churned ice cream into a storage container. Add extra crushed vanilla wafers on top if desired.
10. Freeze: Seal the container and place it in the freezer. Allow the ice cream to freeze for at least 4-6 hours, or overnight for a firmer consistency.
11. Serve: When ready to enjoy, scoop out servings into bowls. Add whipped cream and extra vanilla wafers if desired.
These steps will guide you in creating an incredible Banana Pudding Ice Cream that is sure to become a favorite for everyone!
How to Serve
Serving Banana Pudding Ice Cream is just as delightful as making it! Here are several tips to elevate your dessert presentation:
1. Elegant Bowls: Use fun or elegant bowls to serve the ice cream; this adds a special touch to dessert time.
2. Toppings: Consider garnishing with whipped cream, fresh banana slices, or an extra sprinkle of crushed vanilla wafers for a crunchy texture.
3. Pairing Options: Serve with slices of pound cake or a drizzle of caramel sauce for an additional flavor kick.
4. Portion Sizes: Offer generous scoops but remain considerate. Smaller servings often encourage guests to return for seconds!
5. Presentation: Create an appealing dessert board with various toppings, inviting guests to customize their bowls for a fun experience.
By thoughtfully considering how to serve Banana Pudding Ice Cream, you create an enjoyable and memorable experience for your guests that they will be talking about long after! Enjoy the sweet, creamy goodness of this treat!
Additional Tips
– Use Ripe Bananas: The flavor of your Banana Pudding Ice Cream will significantly improve with ripe, sweet bananas. This ensures the creaminess is enhanced, providing a natural sweetness.
– Experiment with Flavor: Try adding a hint of cinnamon or nutmeg to elevate the flavor profile. This small addition can bring a warm twist to the classic taste.
– Ensure Full Mixing: Make sure that the bananas and wafers are evenly distributed in the ice cream mixture. This ensures every bite is equally delightful.
– Serve Cold: Always scoop the ice cream while it’s well-frozen to maintain its creamy texture. If it’s too hard, let it sit at room temperature for a few minutes before serving.
Recipe Variation
Don’t hesitate to customize this Banana Pudding Ice Cream recipe! Here are a few ideas for variations:
1. Add a Chocolate Twist: Incorporate chocolate chips or a swirl of chocolate sauce into the mix for a delightful chocolate-banana combination.
2. Nutty Option: Mix in chopped walnuts or pecans to add some crunch and enhance the flavor.
3. Caramel Swirl: Drizzle caramel sauce throughout the ice cream mixture for an extra layer of sweetness and richness.
4. Vegan Alternative: Substitute heavy cream and whole milk with coconut cream and almond milk for a delicious dairy-free version.
Freezing and Storage
– Storage: Store the ice cream in an airtight container in the freezer to prevent ice crystals from forming. It should remain fresh for about 2-3 weeks.
– Freezing Tips: For the best texture, allow the ice cream to freeze for at least 4-6 hours. If it gets too hard, let it sit out for a few minutes before scooping.
Special Equipment
To successfully make the Banana Pudding Ice Cream, you’ll need:
– An ice cream maker: This is essential for churning the mixture to achieve a smooth, creamy texture.
– Mixing bowls: A few sizes will be handy for different stages of the preparation.
– Fork or masher: For mashing the bananas smoothly.
– A whisk: To mix together the base ingredients effectively.
– Airtight storage container: For freezing the finished ice cream.
Frequently Asked Questions
Can I use frozen bananas?
Yes, you can use frozen bananas. Just thaw them slightly before mashing. This can also enhance the creaminess of your ice cream.
How long does it take to churn the ice cream?
Churning typically takes around 20-30 minutes, but it can vary based on your ice cream maker.
What if I don’t have an ice cream maker?
You can still make this ice cream by placing the mixture in a shallow container and stirring every 30 minutes until it reaches your desired texture.
Can I add other fruits?
Certainly! Strawberries or pineapple can add refreshing flavors that complement the banana beautifully.
Is this ice cream gluten-free?
The recipe is gluten-free if you use gluten-free vanilla wafers. Always check your ingredient labels to be sure.
Conclusion
Banana Pudding Ice Cream is an imaginative twist on a beloved classic. Its harmonious blend of creamy ice cream, ripe bananas, and crunchy vanilla wafers creates a dessert that tantalizes your taste buds and invokes a sense of nostalgia. Easy to make and versatile, this treat is perfect for any occasion. So whether hosting friends or just indulging yourself, this ice cream is sure to delight!

Banana Pudding Ice Cream Recipe: An Incredible Ultimate Treat
- Total Time: 15 minutes
Ingredients
– 2 ripe bananas
– 2 cups heavy cream
– 1 cup whole milk
– 1 cup granulated sugar
– 1 teaspoon vanilla extract
– 1 tablespoon lemon juice
– 1 cup crushed vanilla wafers (plus extra for topping)
– Optional: whipped cream for serving
Instructions
Making Banana Pudding Ice Cream at home is simple and fun! Follow these steps for a delightful treat:
1. Prepare the Bananas: Peel the ripe bananas and place them in a mixing bowl. Use a fork to mash them until smooth.
2. Combine the Base: In a separate bowl, whisk together the heavy cream, whole milk, sugar, and vanilla extract until the sugar is completely dissolved.
3. Add Lemon Juice: Stir in the lemon juice to the creamy mixture; this helps prevent the bananas from browning.
4. Mix in Bananas: Incorporate the mashed bananas into the creamy mixture, stirring well until fully combined.
5. Crush the Wafers: Lightly crush the vanilla wafers. You can use a rolling pin or simply break them into small pieces with your hands.
6. Combine Wafer Pieces: Gently fold the crushed vanilla wafers into the banana mixture, ensuring they’re evenly distributed.
7. Chill Mixture: Cover the bowl with plastic wrap and refrigerate the mixture for at least 2 hours. This helps to blend the flavors.
8. Churn the Ice Cream: After chilling, pour the mixture into your ice cream maker and churn according to the manufacturer’s instructions until it reaches a soft-serve consistency.
9. Transfer to Freezer Container: Spoon the churned ice cream into a storage container. Add extra crushed vanilla wafers on top if desired.
10. Freeze: Seal the container and place it in the freezer. Allow the ice cream to freeze for at least 4-6 hours, or overnight for a firmer consistency.
11. Serve: When ready to enjoy, scoop out servings into bowls. Add whipped cream and extra vanilla wafers if desired.
These steps will guide you in creating an incredible Banana Pudding Ice Cream that is sure to become a favorite for everyone!
- Prep Time: 15 minutes
- Cook Time: 0 minutes
Nutrition
- Serving Size: 8
- Calories: 250 kcal
- Fat: 12g
- Protein: 2g


